Recordings are pay-as-you-go. You’ll need to add your credit card details to
your Daily account to enable it.
Customizations only apply to rooms with
cloud recordings enabled.1. Add the daily events element
Place the Daily Events element on your page. A common practice is to place it inside a hidden popup that stays offscreen, allowing it to listen for events without being visible.
2. Enable cloud recording for your room
When creating or updating a room, set the recording type to cloud. Customization options are only available for cloud recordings.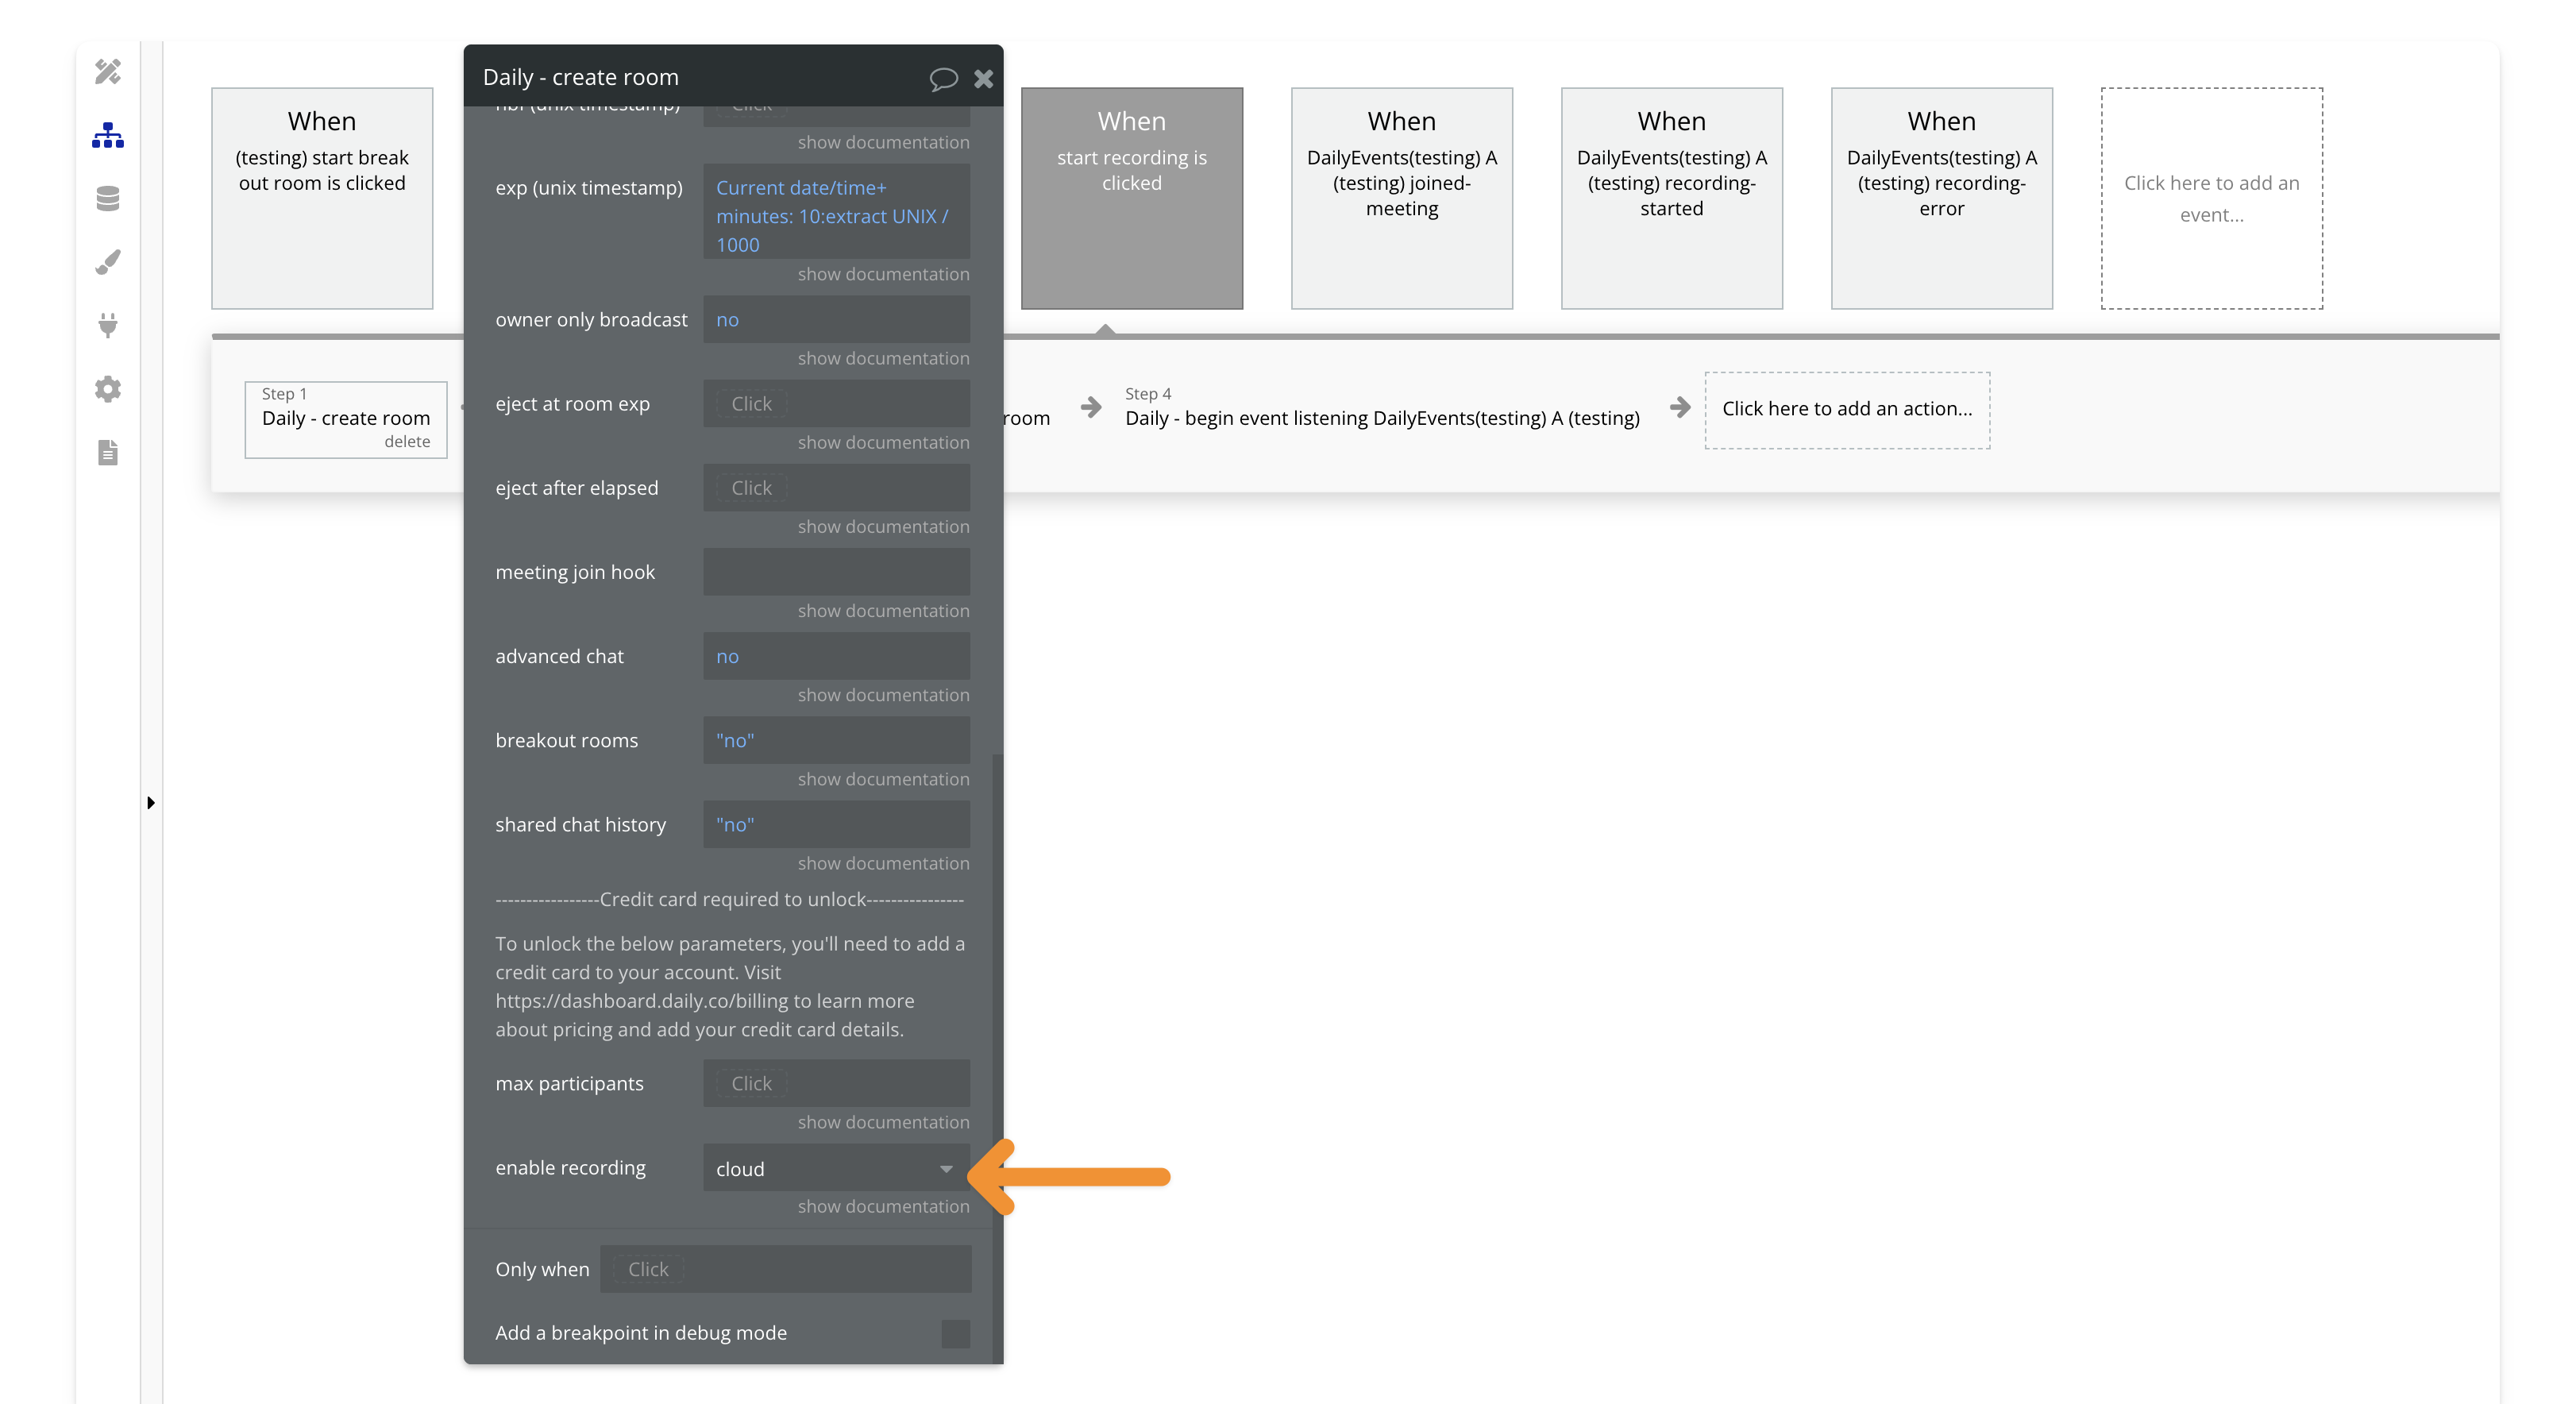
3. Join the room and start listening for events
After joining the room, make sure to add the “begin listening” action. This step is crucial to ensure Bubble can capture and process the recording events. We’ll listen for the recording-started event, which will trigger the update of your recording layout.
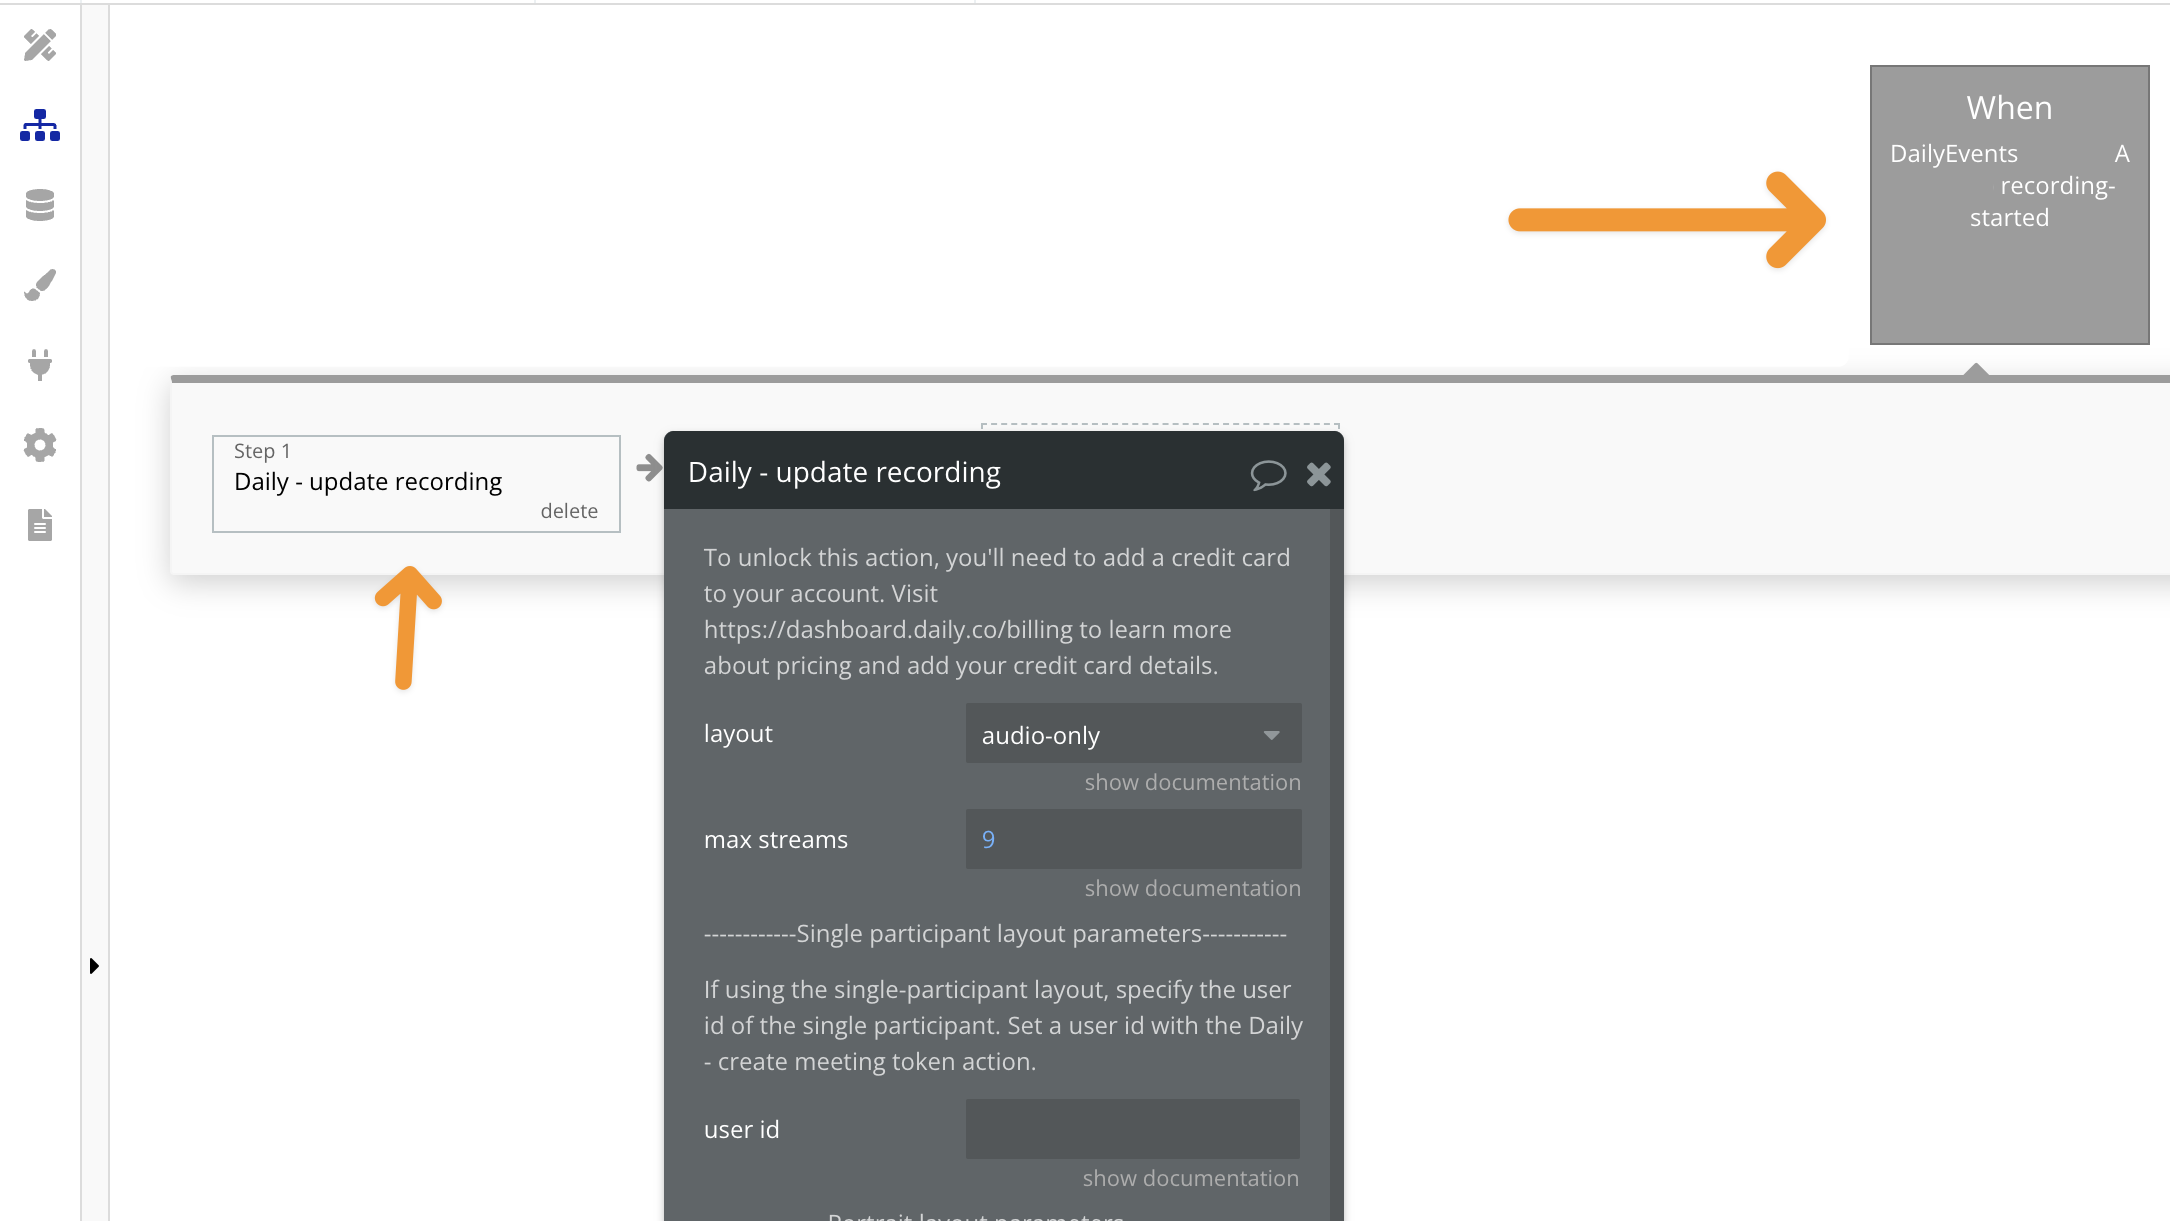
4. Add the recording-started event and the update recording action
Next, add the recording-started event and include the action to update the recording settings, such as layout, bitrate, or resolution.